
Authorization
The SMART on FHIR OAuth flow Medblocks brokers for the patient: PKCE, code exchange, token refresh, and auth event history.
Medblocks Connect uses SMART on FHIR, which is OAuth 2.0 adapted for healthcare portals and FHIR servers. The patient signs in at their EHR or payer portal, grants access, and Medblocks receives tokens that can be used to pull their records.
Your app does not run the OAuth flow directly. You create a Session and redirect the patient to the Session URL. Medblocks handles the rest.
sequenceDiagram
  participant App as Your app
  participant MB as Medblocks
  participant Portal as EHR or payer portal
  participant FHIR as FHIR API

  App->>MB: Create Connect Session
  MB-->>App: Return patient URL
  App->>Portal: Redirect patient through Session URL
  MB->>Portal: Authorization request with state and PKCE challenge
  Portal-->>MB: Authorization code
  MB->>Portal: Token request with code verifier
  Portal-->>MB: Access token and refresh token
  MB->>FHIR: Pull patient records
  MB-->>App: Return patient to app with Session ID
Authorization Endpoint
The authorization endpoint is the portal URL where the patient signs in and grants access. Each FHIR source has its own authorization endpoint, token endpoint, client settings, scopes, and portal behavior.
Medblocks builds the authorization request for the selected source. The request includes the client ID, redirect URI, requested scopes, state value, and PKCE challenge. The state value ties the portal redirect back to the original Session. The PKCE challenge protects the later code exchange.
The patient sees the portal’s own login and consent screens. Medblocks does not collect portal credentials.
Common scopes include:
openid fhirUser patient/*.read offline_accessoffline_access is what lets Medblocks keep data fresh after the patient leaves the browser flow.
PKCE
PKCE protects the authorization code flow. Medblocks creates a private code_verifier, derives a public code_challenge, and sends only the challenge to the portal.
When the portal redirects back with an authorization code, Medblocks sends the original verifier during token exchange. The portal checks that the verifier matches the challenge. A stolen authorization code cannot be exchanged without the verifier.
Some sources also require confidential client authentication at the token endpoint, such as a client secret or a signed JWT client assertion. Medblocks chooses the correct method for the configured source.
Code Exchange
After consent, the portal redirects back to Medblocks with an authorization code. Medblocks exchanges that code at the token endpoint.
The token response usually includes:
| Field | Purpose |
|---|---|
access_token | Used to call the FHIR API. Usually short lived. |
refresh_token | Used to obtain a new access token without asking the patient again. |
expires_in | Tells Medblocks when the access token expires. |
id_token | Used to resolve the patient identity exposed by SMART on FHIR. |
scope | The scopes actually granted by the portal. |
The authorization code is single use. If exchange fails, Medblocks records the failure and redirects the patient according to the Session mode.
Token Refresh
Medblocks stores tokens on the account connection after the exchange succeeds. Access tokens are short lived. Refresh tokens are longer lived credentials that let Medblocks get a new access token without asking the patient to sign in again.
The current worker checks for expiring tokens on an hourly loop. If an access token is missing or expiring soon, Medblocks calls the source’s token endpoint with the refresh token and the configured client authentication method.
If refresh succeeds, Medblocks updates the stored access token and keeps pulling data. If the portal returns invalid_grant, the refresh token is no longer usable. Medblocks clears the stored tokens, marks the connection as refresh_failed, and the patient needs to reconnect.
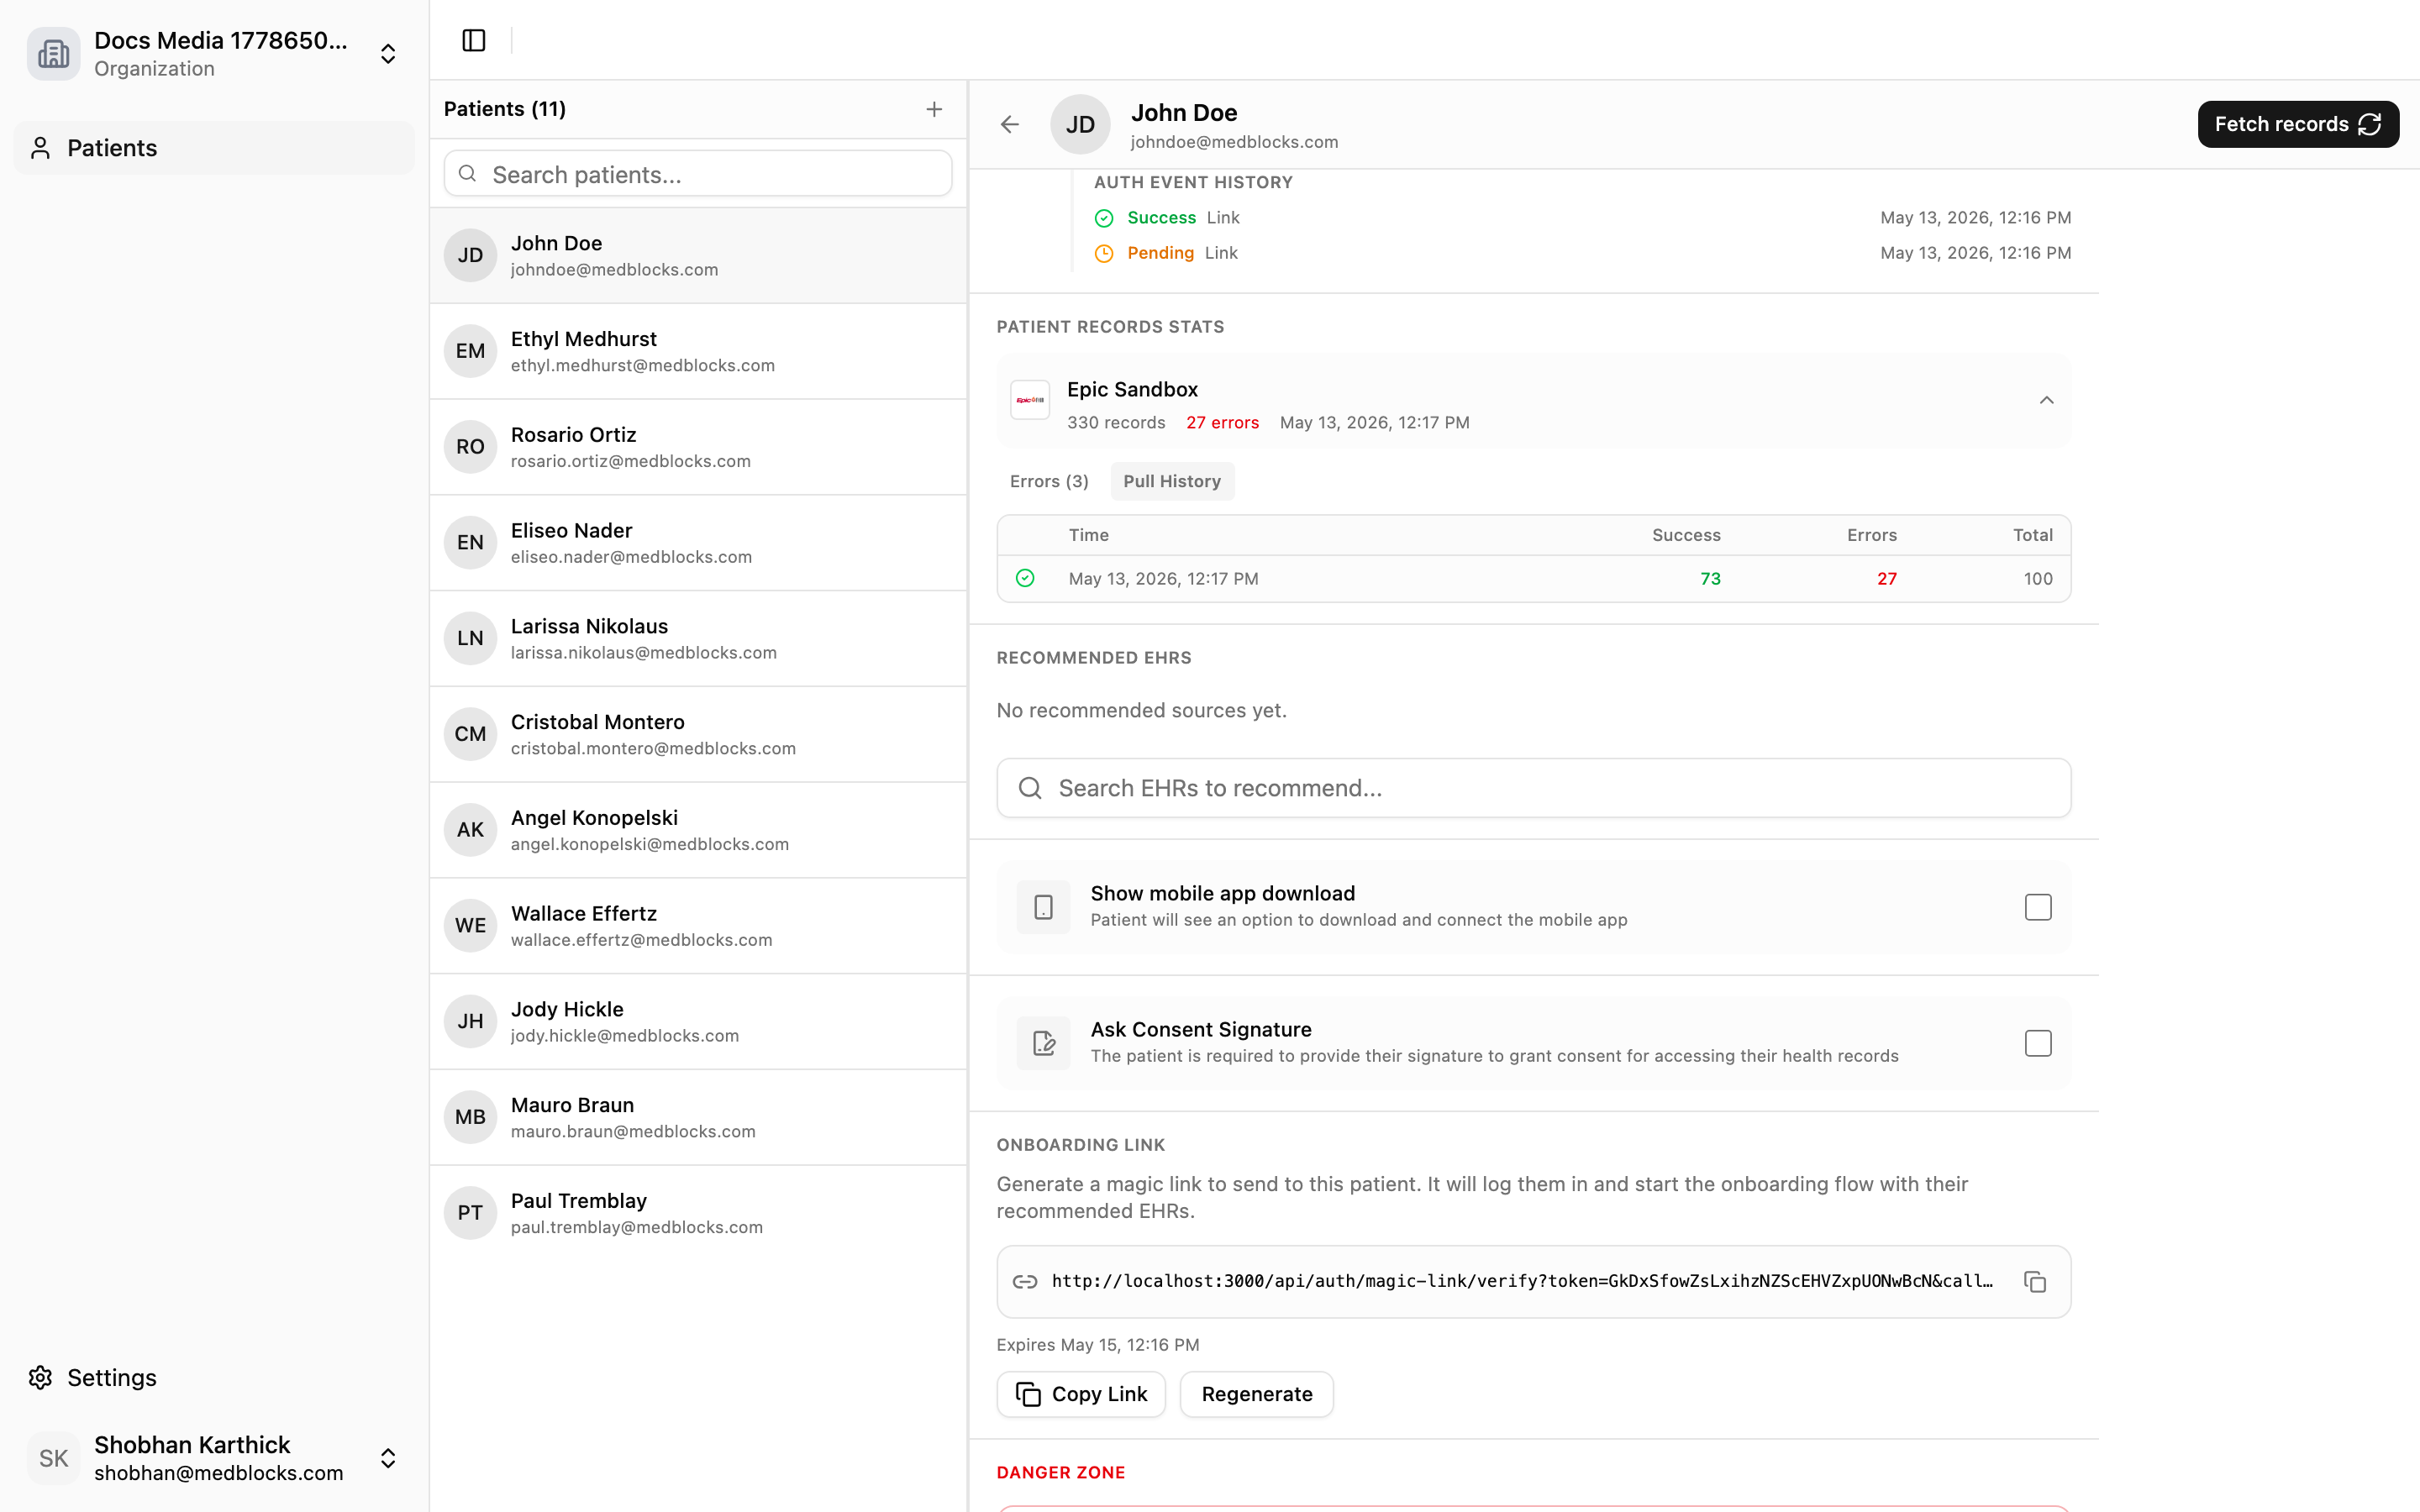
Auth Event History
Every SMART authorization attempt creates an event trail for support and auditing. The dashboard uses this history to show what happened when a patient tried to connect.
The history is useful for:
- Confirming that the patient reached the portal.
- Seeing whether consent succeeded or failed.
- Reading stable error codes from failed attempts.
- Distinguishing portal errors from app integration errors.
- Finding the source involved in a failed connection.
Auth event history is a dashboard workflow today, not a public REST endpoint. Use the dashboard guide for the exact steps: Auth Event History.
Failure Modes
| Failure | What the patient sees | What your app should do |
|---|---|---|
| Patient cancels consent | Return URL with success=false in Direct mode, or a failed connection in Picker mode | Show a retry option. |
| Source returns an OAuth error | Return URL includes error and sometimes error_description | Log the Session ID and read Session status. |
| Session expires | Session state becomes expired | Create a new Session. |
| Refresh token fails later | Connection becomes refresh_failed | Ask the patient to reconnect. |
Related Guides
- Read Connect for Picker and Direct mode.
- Use Picker Mode or Direct Mode for the public API calls.
- Use Auth Event History when debugging patient connection attempts.